The Trilogy: Godot Edition - Part 9 - Cutscene camera
Camera movement is stored in bet.dat. This is a plain text file, so let’s open it up in a text editor.
29,
0f,15.1893,15.1893,15.1893,
# 28 similar entries
;
12,
0f,0.0,0.0,0.0,
# 11 similar entries
;
44,
0f,-36.558,-27.5815,126.056,-36.558,-27.5815,126.056,-36.558,-27.5815,126.056,
# 43 similar entries
;
58,
0f,-32.1766,-27.5772,16.4855,-32.1766,-27.5772,16.4855,-32.3134,-27.5332,16.6541,
# 57 similar entries
;
;
The file is split up into sections, each section starts with a counter which indicates the amount of entries in that
section. Each section ends with a ;.
In total there are 4 sections: Zoom, Rotation, Position and Target.
- Zoom: The zoom level of the camera
- Rotation: Rotation of the camera
- Position: Position of the camera
- Target: The position the camera targets
Let’s have a look at all 4 sections.
Zoom
29,
0f,15.1893,15.1893,15.1893,
# 28 similar entries
;
The 29 indicates that there are 29 ‘zoom’ entries in this section. The next line is an entry. The first value 0f is the
time into the cutscene when the entry happens, in this case the zoom is set to 15.1893 right at the beginning of the
cutscene. For some reason the value is repeated 3 times, we can ignore the last 2.
We can simulate the camera zoom by setting the camera FOV value.
Rotation
12,
0f,0.0,0.0,0.0,
Pretty much the same as zoom; 12 entries, first entry sets the camera rotation to 0.0 degrees at the beginning of the cutscene.
Position
44,
0f,-36.558,-27.5815,126.056,-36.558,-27.5815,126.056,-36.558,-27.5815,126.056,
And again, a similar format. 44 entries, each entry setting the position of the camera, and again the position is repeated 3 times.
Target
58,
0f,-32.1766,-27.5772,16.4855,-32.1766,-27.5772,16.4855,-32.3134,-27.5332,16.6541,
And surprise, surprise, the last section uses the same format. 58 entries with target position data. This is basically the direction the camera aims in.
Animation player
With the data available, we can start with the implementation. We can use Godot’s AnimationPlayer and Animation classes for this. First we’ll have to convert the animation data to an Animation. Some pseudo code:
// Create new animation
Animation animation = new Animation();
// Set the loop mode to None as we only want to play the animation ones.
animation.LoopMode = Animation.LoopModeEnum.None;
// Set the animation length to the full cutscene length
animation.Length = cameraPath.GetLength();

// Create the position data track
int positionTrackIndex = animation.AddTrack(Animation.TrackType.Position3D);
animation.TrackSetPath(positionTrackIndex, "CutsceneCamera");

// Now add all position entries to the position track
foreach (var positionData in cameraPath.PositionEntries)
{
    // Add a position key frame at each timestamp, the animation player will take care of interpolation
    animation.PositionTrackInsertKey(positionTrackIndex, positionData.Timestamp, positionData.Position);
}
With the animation ready we can now create an animation player that can actually play this animation.
// Create an animation library, this is required to play an animation using the animation player
AnimationLibrary cameraAnimLib = new AnimationLibrary();
// Add our cutscene camera animation to the librart
cameraAnimLib.AddAnimation("bet", animation);
// Add the animation library to the animation player
cameraAnimPlayer.AddAnimationLibrary("bet", cameraAnimLib);
// Set the newly created animation as the animation that needs to be played
cameraAnimPlayer.SetCurrentAnimation("bet/bet");
// Start playback
cameraAnimPlayer.Play();
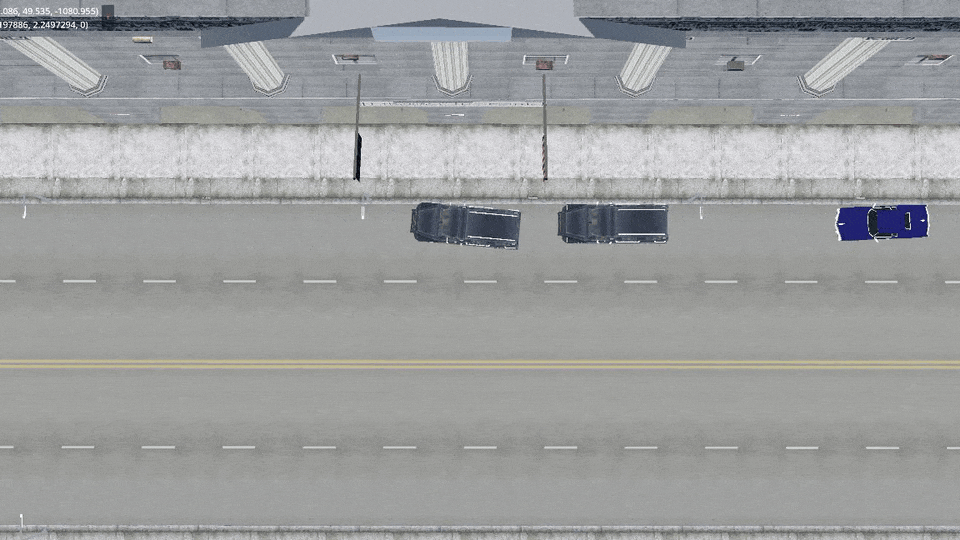
The result:
Great start, we got the camera positioned in the right place, now all we need to do is apply the other properties to the camera.
Well, there is still a tiny problem with that. Godot’s camera doesn’t have properties for “zoom” and “target”, so that will require a little more work.
By adding a script with custom properties we can let the animation player set those properties.
Let’s add a Target property to our CutsceneCamera script:
 private Vector3 _target;

 [Export]
 public Vector3 Target
 {
     get => _target;
     set
     {
        // Update the local var
        _target = value;
        // Set the camera to look at the target relative to the cutscene offset
        // The LookAt method requires a global space Vector3, while the target value is in the cutscenes local space.
        LookAt(CutsceneOffset + _target, Vector3.Up);
     }
 }
Now all we need to do is update our Animation parsing code to also add a “target” track.
 // Create a target track of type 'Value' point it to our 'Target' property
 var targetTrackIndex = animation.AddTrack(Animation.TrackType.Value);
 animation.TrackSetPath(targetTrackIndex, "CutsceneCamera:Target");

 // Add all target entries to the target track
 foreach (var targetData in cameraPath.TargetEntries)
 {
     // Add a target key frame at each timestamp, the animation player will take care of interpolation
     animation.TrackInsertKey(targetTrackIndex, targetData.Timestamp, targetData.Position);
 }
We can do the same for “Zoom” and “Rotation”. Where “Zoom” sets the camera Fov property and rotation updates the camera rotation in degrees, keep in mind that the camera rotation should be applied last to prevent overwriting the “target” rotation.
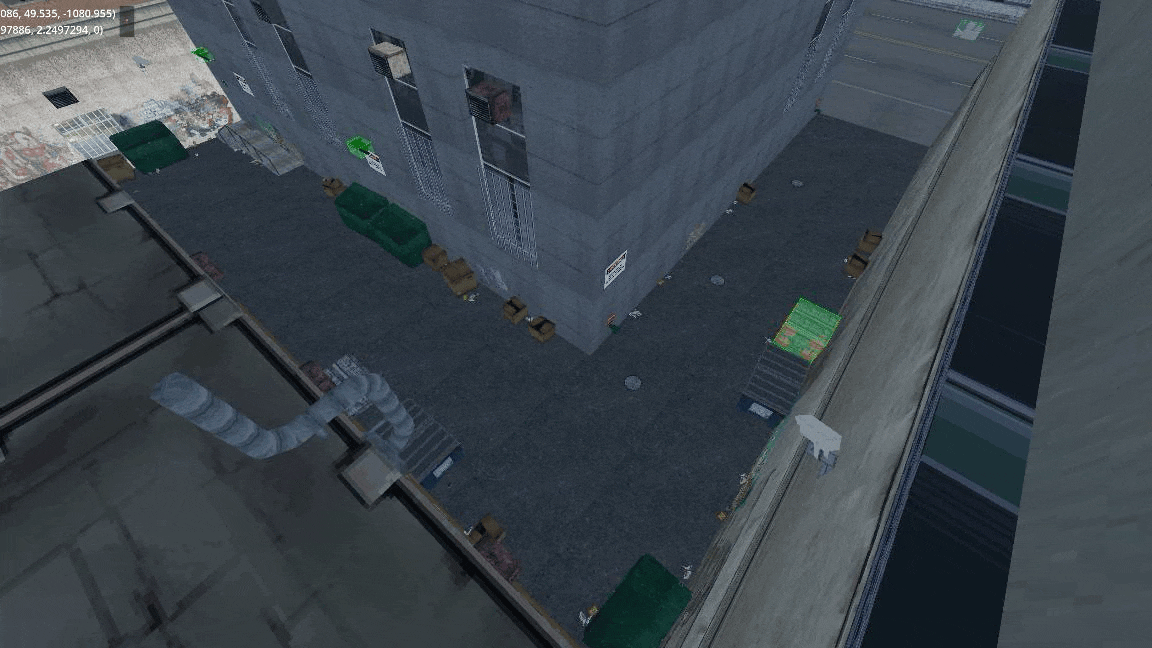
Et voilà (sorry for the extremely low quality!)