The trilogy Godot Edition - Part 1 - Model loading
In this first part of the series we discuss model loading. Nothing more visual than rendering our first GTA model.
To load a GTA model we first need to understand the original engine this game used. The original trilogy was based on the RenderWare engine (RW from now on), an engine that was very popular during the time. Many games by different developers where created on this engine, think about titles like Burnout, Tony Hawks Pro Skater 3 and Bully. It was the Unreal Engine of that era.
Lucky for us this means a lot is known about the file formats used by RW based games. Entire tools and libraries where build to inspect the contents of RW files. One of which is called RwAnalyze, this is still one of the best tools (22 years old by now!) to get a grasp of the basic structure of RW files.
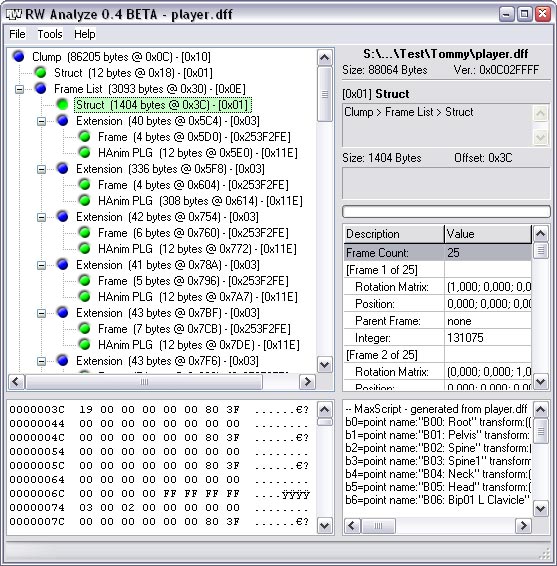
As you can see in the above screenshot a dff file is simply 3D data stored in a tree like structure.
An example
Let’s take a closer look at a pretty basic dff file. We can use Vice City’s arrow.dff which can be found in the /models/generic/ directory. This model has only a single mesh, no textures and is pretty much as basic as it gets.
ℹ️ You might notice that there are not that many dff files in the models directory, which might seem odd for a game with hundreds of models. This is because most models are packed into the
gta3.imgarchive file. We’ll get to the details of that file in another part.
The structure
The following tree shows the structure of the dff file.
RwClump
├── RwFrameList
│   └── RwFrame
├── RwGeometryList
│   └── RwGeometry
│       ├── RwMaterialList
│       │   └── RwMaterial
│       ├── RwBinMeshPlg
│       └── RwMorphPlg
└── RwAtomic
    ├── RwParticlesPLG
    └── RwMatEffectsPlg
Let’s have a look at the sections and how they relate to Godot.
RwClump
A container of a frame hierarchy and 3D data. We could create something similar using a Node3D with child nodes.
RwFrameList
List of Frames.
RwFrame
A frame has a name, positioning data and a parent ID. Frames are used to build up the hierarchy of the model. Frames can be used to position geometry, dummies or bones from a skeleton. In Godot this is again similar to a Node3D.
In our case of arrow.dff this frame contains the name “arrow”.
RwGeometryList
List of Geometry
RwGeometry
The visual representation of the model. Contains the vertex, polygon and material data. The Godot equivalent of a Mesh.
RwMaterialList
List of materials
RwMaterial
Material definition, contains the texture name, colors, alpha name etc.
RwBinMeshPlg
Plugin that defines how the geometry is split by materials. Which vertices / polygons use which material. Similar to a Surface on a Mesh in Godot.
RwMorphPlg
I currently don’t support this in my parser, if we need it we’ll probably get to it at some point.
RwAtomic
An atomic matches geometries to a frame. Making it possible to create a hierarchy of geometry. We’ll need this info to setup the mesh / node hierarchy in Godot.
RwMatEffectsPlg
I currently don’t support this in my parser, if we need it we’ll probably get to it at some point.
Godot
If we take the above arrow.dff example and map that to Godot we can imagine this would end up something like:
Node3D
└── MeshInstance3D (arrow)
Meshes
The first step to create this scene is by converting all RwGeometry sections to a Godot Mesh. Godot offers multiple API’s to create meshes at runtime. In my case I ended up using ArrayMesh. By going through all material splits we can create Surfaces using the AddSurfaceFromArrays method and assign a Material to the Surface by using SurfaceSetMaterial
Hierarchy
Once all meshes and materials are created we have to reconstruct the hierarchy. For this we’ll use the RwFrameList and RwAtomic sections. When a frame is connected to a geometry as indicated by the RwAtomic section we can create a new MeshInstance3D and assign it the Mesh that we created from the geometry. In case no geometry is connected to the frame we’ll just create a simple Node3D node. We’ll hook those nodes up according to the parent / child information of the RwFrame.
The result
With some trial and error this is the result:
![]()
I hope you enjoyed this first part of the series. In the next part we’ll take a look at loading more advanced models.